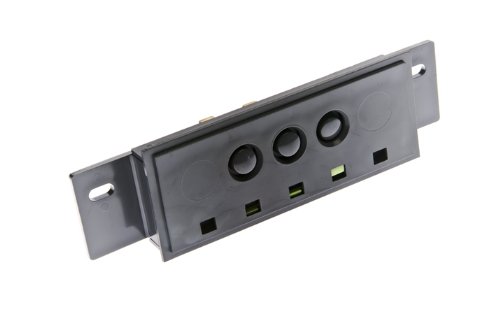
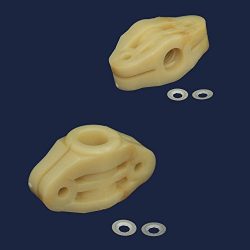
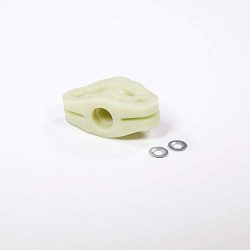
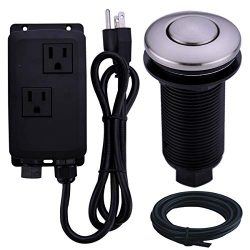
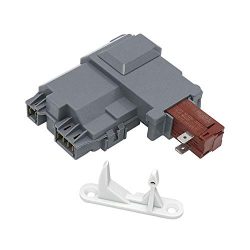
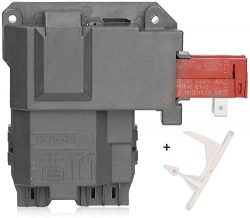
Easy to replace and works just like new! This switch is an exact replacement for the STOP START switch for our Whirlpool trash compactor. It took about thirty minutes to change the switch. You need to pull the compactor out, disconnect the power to the unit, open the compactor, turn the run-lock switch to LOCK. Then remove 2 small screws under the front start-stop-run switch face plate, gently pull up on the face plate and you will see the back of the switch. Note the wire color positions, pull the wires off, remove 2 screws…
Easy to install If the start switch on your compactor is broken, and this is the correct part for your model, go for it. Very easy install on my Whirlpool GX900QPLB01. Unplug compactor, or turn off at breaker but make sure power is OFF2. Open compactor drawer3. Remove 2 screws under the control panel4. Lift control panel up slightly, then off5. Mark the cables so you know where they reattach on new switch, or do what I did and take a pic with your phone6. Remove the…
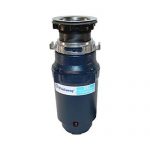
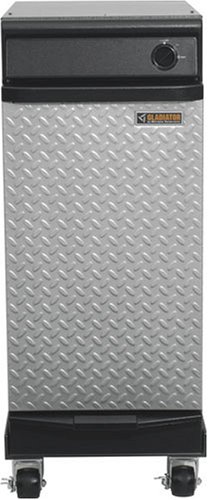
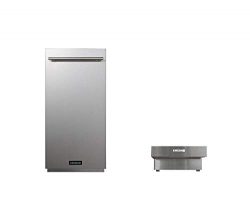
K021 21″ Recycling Trash Compactor with 10.7 cu. ft. Capacity, Energy Efficient Hypercrush Compaction, Under Counter Integration, Separate Crush Areas, and Quiet Operation (Door (Panel) & Toekick)


Easy to replace and works just like new! This switch is an exact replacement for the STOP START switch for our Whirlpool trash compactor. It took about thirty minutes to change the switch. You need to pull the compactor out, disconnect the power to the unit, open the compactor, turn the run-lock switch to LOCK. Then remove 2 small screws under the front start-stop-run switch face plate, gently pull up on the face plate and you will see the back of the switch. Note the wire color positions, pull the wires off, remove 2 screws…
Easy to install If the start switch on your compactor is broken, and this is the correct part for your model, go for it. Very easy install on my Whirlpool GX900QPLB01. Unplug compactor, or turn off at breaker but make sure power is OFF2. Open compactor drawer3. Remove 2 screws under the control panel4. Lift control panel up slightly, then off5. Mark the cables so you know where they reattach on new switch, or do what I did and take a pic with your phone6. Remove the…